
Nothing kills the excitement of a day on the water faster than a botched approach to the dock. For most new boaters, docking a boat for beginners ranks as the single most stressful skill to learn, and for good reason. You're managing throttle, steering, wind, current, and the very real possibility of crunching fiberglass into a piling, all while onlookers pretend not to watch. The good news? Docking is a learnable skill, and with the right checklist, you can pull it off smoothly every time.
This guide breaks down the entire docking process into clear, repeatable steps, from prep work and approach angles to line handling and common mistakes to avoid. Whether you're piloting a traditional powerboat or a compact craft like a Wave-Vo electric jet boat (where the 1.2-meter turning radius and instant electric throttle response make tight dock maneuvers far more forgiving), these fundamentals apply across the board.
By the end, you'll have a practical checklist you can reference before every approach. No guesswork, no panic, just a confident, controlled dock landing that keeps your hull (and your pride) fully intact.
Docking basics: controls, momentum, and rules
Before you run through any checklist, you need to understand how your boat actually responds to input. Docking a boat for beginners gets easier the moment you stop treating the throttle like a gas pedal and start treating it like a tool for managing momentum and position. The fundamentals below apply whether you're on a stern-drive powerboat, an outboard, or a compact electric craft with instant throttle response.
Throttle and steering: what actually moves the boat
Most boats steer through thrust, not a rudder attached to the wheel. On an outboard or sterndrive, turning the wheel points the engine, which redirects the thrust. That means steering only works when the engine is producing thrust. In neutral or when coasting, your steering input has far less effect, especially at slow speeds.
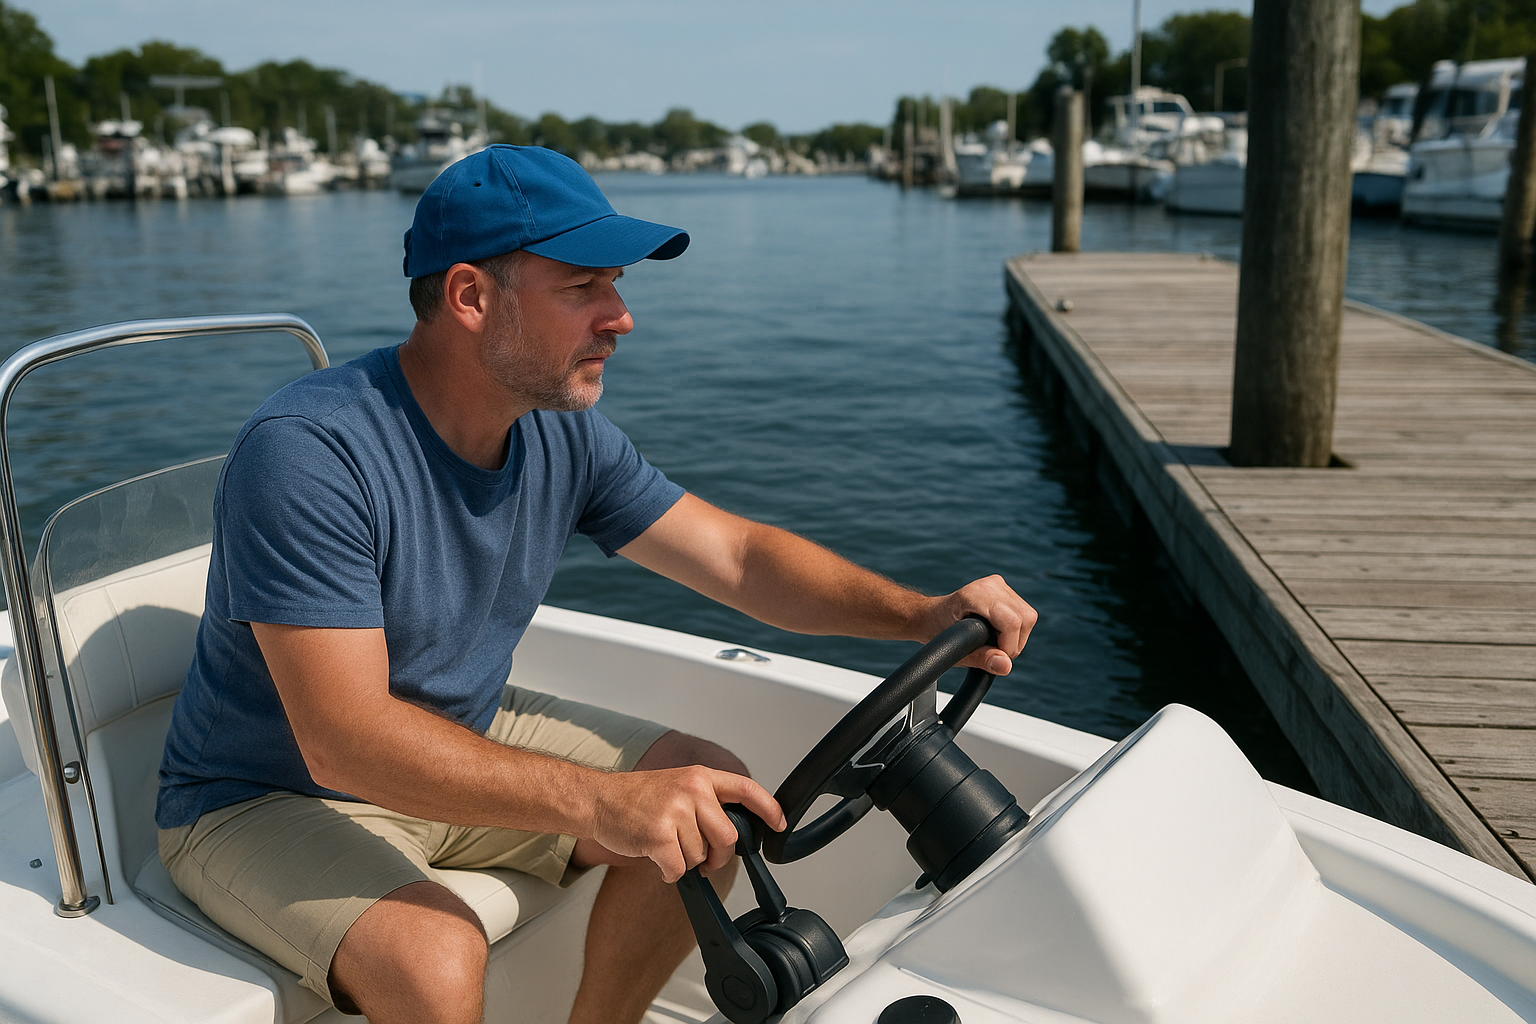
At the dock, you'll use short, controlled bursts of forward and reverse thrust to nudge the bow or stern into position. Think of it less like driving a car and more like operating a forklift: small movements, deliberate corrections, and a lot of patience.
The single most useful throttle skill for docking is learning to shift smoothly from forward to neutral to reverse, using each gear as a precision tool rather than holding a steady speed.
How momentum works on the water
Water offers almost no friction to slow you down, which means whatever speed you carry into your approach, you'll carry most of it right into the dock if you don't manage it deliberately. Boats have no brakes, and reverse thrust is your only mechanical way to bleed speed. On most gas engines, that reverse response is not immediate.
Practice finding your boat's coast-out distance: put the engine in neutral at idle speed and measure how far the boat drifts before stopping. For most 18 to 22 foot powerboats, that's 10 to 30 feet depending on hull weight and wind conditions. Knowing that number before you approach a dock is the difference between a clean stop and a scrape.
Right-of-way and dock area etiquette
Dock areas are high-traffic, low-speed zones, and basic right-of-way awareness prevents most collisions before they happen. In the United States, the Navigation Rules published by the U.S. Coast Guard govern vessel behavior in these situations. The core principle: the vessel with less maneuverability has right-of-way, so a boat actively docking takes priority over one simply idling nearby.
Beyond the legal framework, dock etiquette has practical consequences as well. Don't idle through a marina at speed, don't cut across another boater's docking path, and always signal your intentions with a wave or a horn if you're sharing a tight channel. A brief pause to let another vessel clear a slip costs you under a minute and saves far more time than any avoidable collision would.
Step 1. Prep: fenders, lines, roles, and route
Good docking starts well before you touch the throttle for your final approach. Preparation is the step most beginners skip, and it's the one that turns a chaotic landing into a routine one. If you're still rigging fenders and digging out dock lines when you're 20 feet from the slip, you've already lost control of the situation.
Rig your fenders and lines before you enter the marina
Hang your fenders over the side of the boat that will face the dock, adjusted so the bottom of each fender sits just above the waterline. For a standard 18 to 22 foot powerboat, three fenders spaced evenly along the hull gives solid coverage. Pre-attach your dock lines to the bow and stern cleats so they're ready to hand off or loop the moment you reach the dock.
Use this simple pre-dock line checklist before your approach:
- Bow line: attached to bow cleat, coiled, and ready to hand to a dock helper or loop over a piling
- Stern line: attached to stern cleat, uncoiled on the deck, not tangled
- Spring lines: optional for longer docks or strong current, run mid-ship to prevent fore-and-aft movement
- Fender positions: verified and hanging on the correct side before entering the slip area
Attaching lines to your cleats before you approach saves you the one moment you absolutely cannot afford to waste: when the bow is inches from the dock.
Assign jobs and plan your entry route
If you have passengers on board, assign each person a specific job before the approach. One person handles the bow line, another handles the stern line, and everyone else sits down and stays clear. Unassigned passengers moving around the boat during docking shift your weight distribution and create distractions at the worst possible time.
Scout your route into the slip while you still have open water around you. Identify the wind direction, note any boats already tied nearby, and pick your angle before you commit. For anyone working through docking a boat for beginners, this mental rehearsal before the approach is what separates a clean landing from a last-second correction.
Step 2. Read wind and current, pick your angle
Wind and current are the two forces that will push your boat off course during every approach, and neither one stops just because you're focused on the dock. Before you commit to your final run, spend 60 seconds reading both. This assessment is one of the most underrated skills in docking a boat for beginners, and getting it right makes every subsequent step far more predictable.
How to identify wind and current before your approach
Watch the water around stationary boats already tied to the dock. The direction their bows point tells you exactly where the current is pushing, since moored vessels always swing into the current or wind, whichever force is stronger. You can also toss a small piece of paper or a leaf onto the water and watch how it drifts.
For wind, wet your finger and hold it up, or look at flags and tree lines near the marina. A light wind under 10 mph is generally manageable. Anything above 15 mph changes your approach plan significantly, because it will push a light hull sideways faster than many beginners expect.
Underestimating a crosswind on a lightweight hull is one of the most common reasons beginners miss a slip on the first attempt.
Choosing your approach angle based on conditions
Once you know where the wind and current are coming from, use them to your advantage rather than fighting them. The standard guidance for a clean landing is to approach into the wind or current whenever possible, just as a plane lands into the wind. This gives you natural resistance to slow your momentum and keeps the boat tracking straight toward the dock.
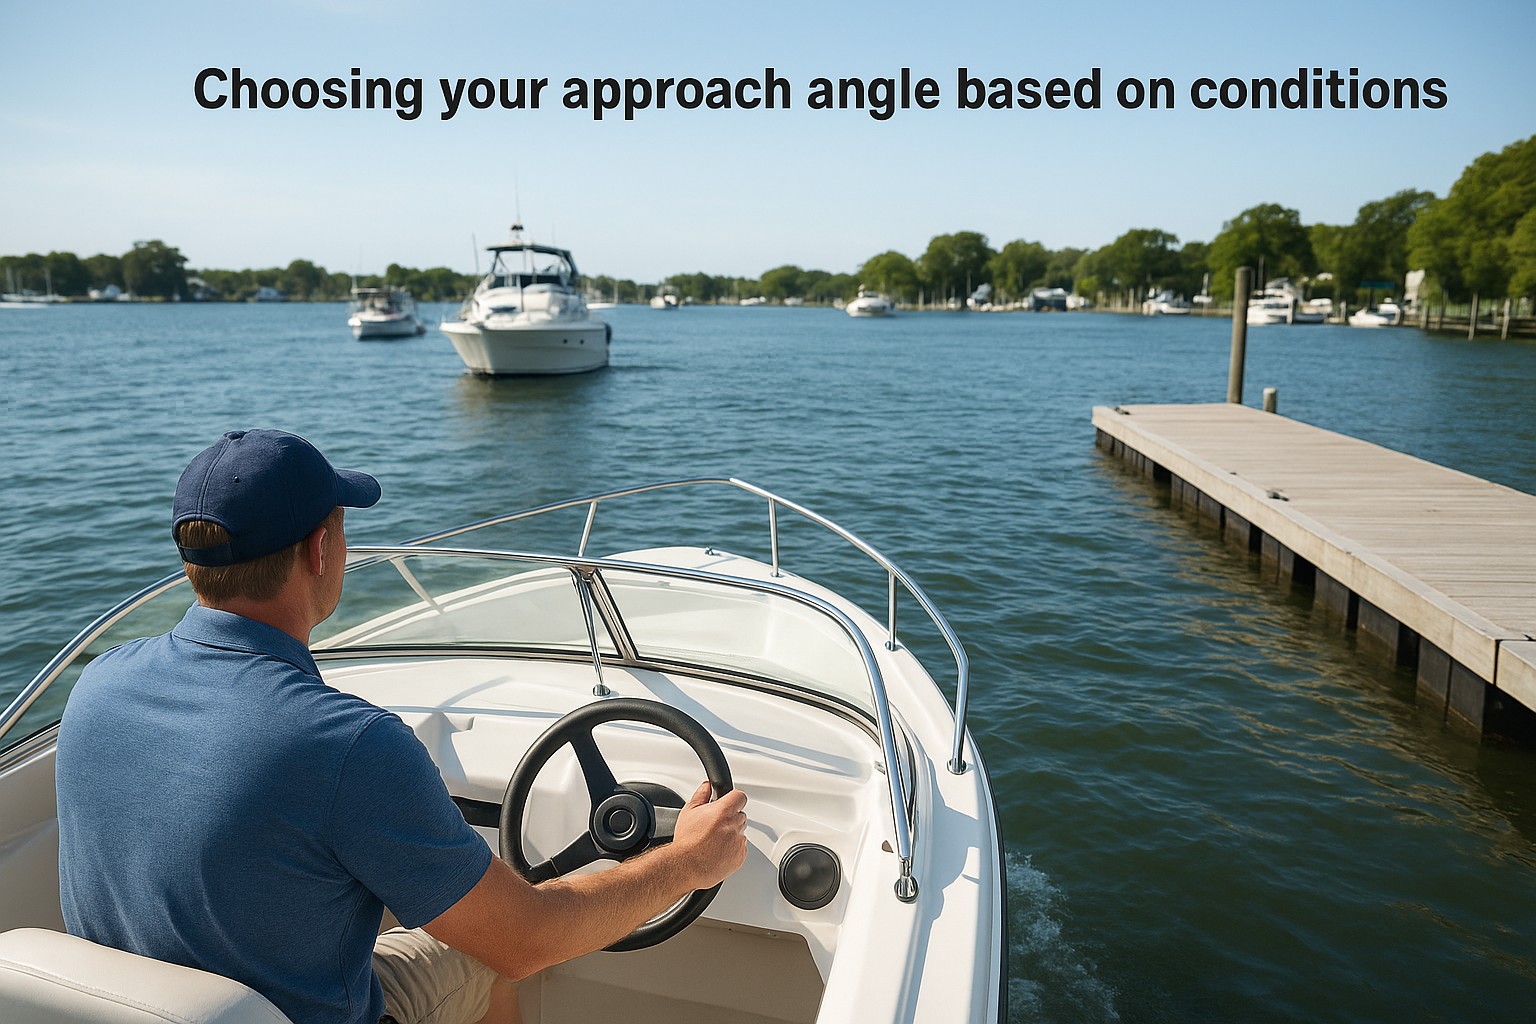
If the wind is pushing you directly onto the dock, use a shallower approach angle (around 20 to 30 degrees) so you can control how fast the hull closes the gap. If the wind is pushing you away from the dock, come in at a steeper angle (45 degrees or more) and plan to use a quick reverse burst to stop before the current pulls you clear.
Step 3. Approach: slow, shift, stop, and align
With your gear prepped and your wind and current read, you're ready for the part that trips up most people working through docking a boat for beginners: the actual approach. The key principle here is simple but counterintuitive. Speed is your enemy, not your safety net. Coming in faster does not give you more control; it gives you less time to correct and more force to absorb when something goes wrong. Keep your speed at idle or just above, and plan every throttle input before you make it.
The four-step throttle sequence
Your approach follows a repeatable four-step pattern that works on nearly every vessel in most conditions. Each step gives you a specific checkpoint to evaluate your position and make corrections before you close the remaining gap.
| Step | Action | What to check |
|---|---|---|
| 1. Slow | Drop to idle speed 3 to 4 boat lengths out | Confirm your angle, fenders deployed, lines ready |
| 2. Shift | Move from forward to neutral when 1 to 2 boat lengths out | Let momentum carry you; measure your coast-out rate |
| 3. Stop | Apply a short reverse burst if the hull is still moving too fast | Kill forward motion before the hull reaches arm's length from the dock |
| 4. Align | Use short forward or reverse nudges to walk the hull parallel to the dock | Correct bow or stern drift with minimal throttle input |
If you need more than one reverse burst during Step 3, you came in too fast; reset your approach and start further back.
Aligning the hull at the dock
Once forward motion stops, your job shifts from steering to positioning the hull. Use short, controlled bursts in forward or reverse to nudge the bow or stern into alignment without adding speed. On an outboard, turning the wheel while in reverse pulls the stern toward the dock on the port or starboard side depending on your rotation, which lets you fine-tune your final position without needing a dock helper.
Keep at least one hand free to grab a piling or cleat as the hull drifts into contact. Physical contact with the dock should feel like a tap, not a thud.
Step 4. Tie up: cleats, pilings, slips, solo
Your hull is touching the dock, and forward motion has stopped. Now your only job is securing the boat before wind or current pulls it back out. Tying up incorrectly is the most common finishing mistake in docking a boat for beginners, and it usually happens because people rush the lines or use the wrong knot for the situation.
Cleating off and looping a piling
The cleat hitch is the standard knot for tying a dock line to a cleat, and it holds under load without jamming. Walk the line around the base of the cleat once, then cross it in a figure-eight pattern, and finish with a locking half-hitch to secure the tail. For a piling, a simple loop (a bowline works well) dropped over the top holds reliably in both forward and backward load directions.
Use this sequence for a standard two-line tie-up:
- Bow line first: secure it to keep the bow from swinging out while you move to the stern
- Stern line second: pull it snug so the hull sits parallel and close to the dock
- Adjust both lines until the boat sits roughly 6 to 12 inches off the dock face, with even tension on each
Tie the bow line before anything else; a loose bow will swing the stern out and undo any progress you made on the approach.
Docking in a slip vs. alongside a pier
Slips require two spring lines in addition to your bow and stern lines to stop the boat from surging forward and backward inside the slip. Run one spring line from a mid-ship cleat forward to the dock, and a second from mid-ship aft. Alongside a pier, spring lines are optional in calm conditions but become essential when wind or boat wake is present.
Tying up solo
When you dock alone, rig a mid-ship cleat line before your approach and use it as your first point of contact with the dock. Step off at the mid-ship position, wrap the line around the nearest cleat or piling to stop drift, and then secure the bow and stern lines in order. Keeping one line under control buys you the time to handle the rest without the boat floating away.
Ready to dock with confidence
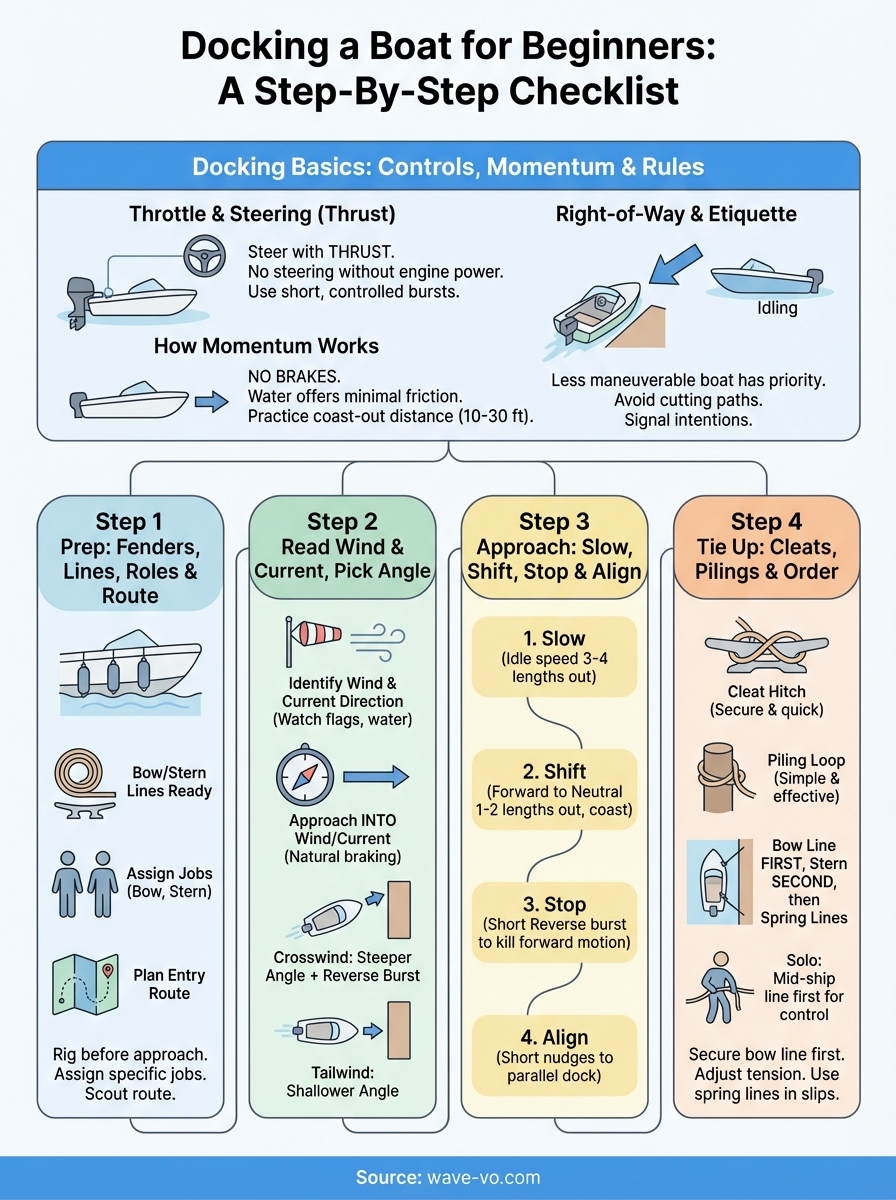
Every skill covered in this guide follows the same logic: preparation before the approach, momentum managed deliberately, and lines secured in the right order. That sequence is what turns docking a boat for beginners from a stressful guessing game into a repeatable routine you trust. Run the checklist a few times, and the steps stop feeling like rules and start feeling like instincts.
Practice in open, low-traffic water first before you attempt a tight slip or a crowded marina. Each approach teaches you something specific about how your hull responds to wind, current, and reverse thrust. The more landings you log, the smaller your margin for error needs to be, because you'll already know how to correct before a problem develops.
If you want a hull that makes tight-water maneuvering more forgiving from day one, check out the Wave-Vo electric jet boat and see what a 1.2-meter turning radius actually feels like on the water.